




An equilateral triangle is the simplest shape you can build with a pair of compasses and a straight edge, and one of the most satisfying. Three equal sides, three 60° angles, and not a single measurement needed after the first line. The construction takes about a minute once you have done it a few times, but the details decide the result: a compass that slips, or a radius that drifts by a millimetre between one arc and the next, leaves you with a triangle that looks correct and isn't. What follows is the full sequence, the reason it works, and the small habits that separate a rough sketch from an accurate drawing.
Before you begin: tools and setup
You need less than you think, but every item has to do its job without shifting.
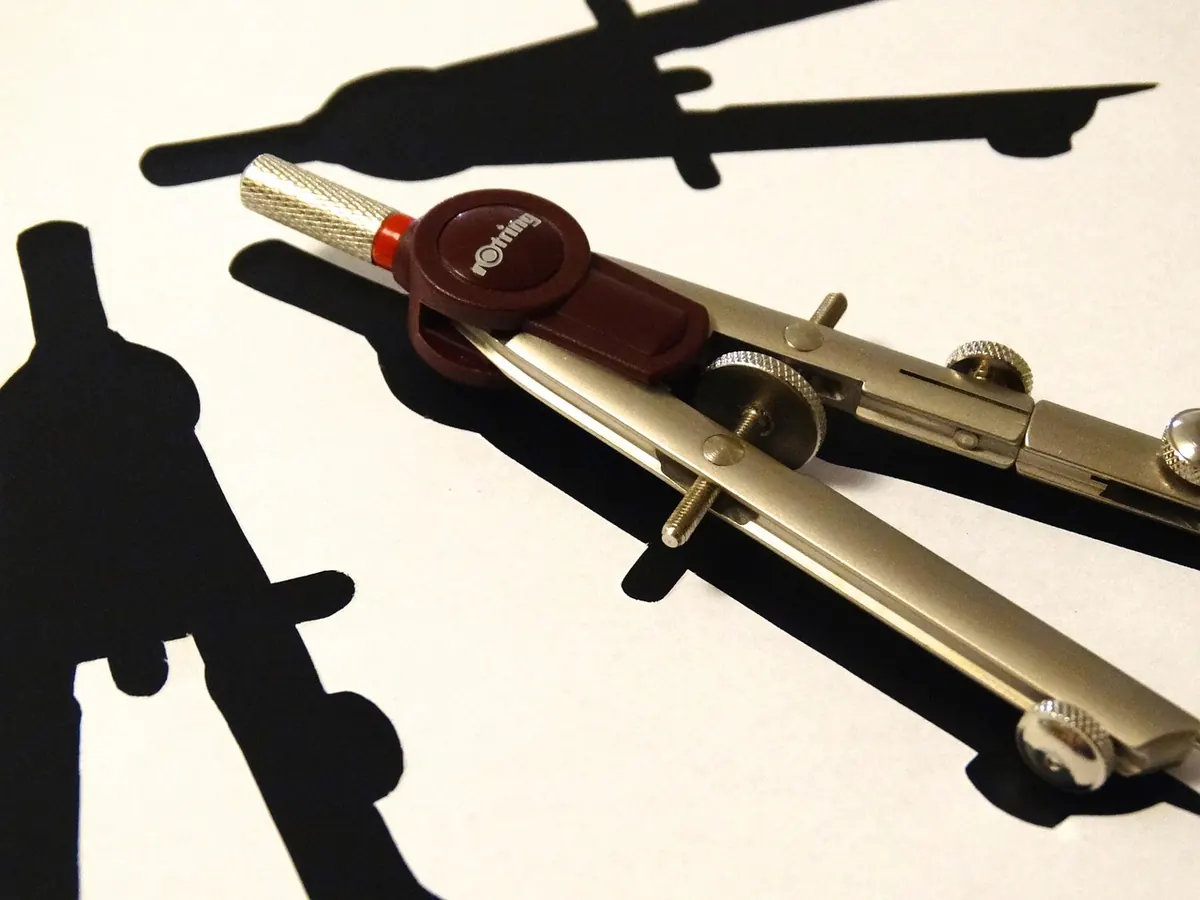
- A compass with a stiff hinge. Open it, hold it upright and check it stays where you put it. A loose hinge that creeps while you draw is the single most common cause of a lopsided triangle.
- A sharp pencil in the compass. A blunt lead draws a thick arc, and a thick arc hides the true crossing point. HB or 2H works well; sharpen it before you start.
- A ruler long enough for your line. A plain straight edge is ideal, since the markings are only needed for checking at the end.
- Plain paper on a firm surface. A table, not a lap or a cushion. If your compass point tends to tear through, slip a cutting mat or a scrap of card underneath.
- A second pencil and a rubber. Keep the labelling pencil separate from the compass so you are not constantly resetting the lead.
Draw the base line
Choose the side length first. Six centimetres is a comfortable working size: long enough that the arcs cross clearly, short enough to fit on the page with room around it. Very small triangles crowd the arcs together and make the crossing hard to read; very large ones magnify every wobble.
Mark two points and label them A on the left and B on the right. Keep the marks tiny — a short cross or a single dot. A fat blob of graphite gives the compass point somewhere to slide, and a one-millimetre error at the base can become several millimetres at the apex.
Join the two marks with a straight line, drawn in one steady pass with the pencil held at a reasonably steep angle. Then look along the line: it should meet both marks exactly, with no gap at either end.
Find the third vertex
The radius for both arcs is the length AB, and it must not change between them. Set the compass point on A and the pencil tip on B, adjusting until the tip sits precisely on your B mark. From this moment, do not touch the hinge.
- Place the compass point on A and draw an arc above the base line, sweeping generously through the area where the apex will fall.
- Lift the compass, keeping the setting untouched, and place the point on B.
- Draw a second arc above the line so that it crosses the first.
- Mark the crossing point as C, using a small dot placed at the exact intersection.
- Rule a straight line from A to C, then from B to C.
- Check the result: all three sides should now be equal.
Long arcs, clean crossings
Two arcs that meet at a shallow angle are difficult to read — the crossing becomes a smudge rather than a point. Sweep each arc well past the intersection so the lines cross at a healthy angle, and extend them a centimetre or two beyond so the true crossing is obvious.
Two triangles for the price of one
Repeat both arcs below the base line and they cross again at a point D. Join D to A and to B and you have a second equilateral triangle, mirrored across the base. Together, ABC and ABD form a rhombus with 60° and 120° angles — the starting point for hexagons and isometric grids, and a useful test of your technique. If one triangle is neat and its mirror image is not, the compass setting moved between arcs.
Why the construction works
The two arcs are pieces of circles, both with radius AB: one centred on A, the other on B. Point C lies on the first circle, so the distance AC equals AB. It also lies on the second, so BC equals AB. Since AB, BC and CA are all the same length, the triangle is equilateral by definition.
The angles follow from that. In any triangle, equal sides face equal angles, so an equilateral triangle has three equal angles. They must add to 180°, which makes each one 60°. No protractor required.
The compass carries the length for you. Accuracy lives in the construction, not in how carefully you read a scale.
Tips for accuracy
- Set the radius once. Not the hinge, not the lead, not the point. Every adjustment after the first arc is an error waiting to show up.
- Hold the compass by the top knob and let the instrument rotate. Keeping the point vertical and firmly seated matters more than how hard you press.
- Turn the paper if it helps. For wide arcs, many people find it easier to rotate the page under a steady hand than to swing the compass through an awkward angle.
- Draw arcs lightly, final sides darkly. Pale construction lines do not dent the paper and rub out without leaving a shadow.
- Erase nothing until you have checked. The arcs are your working, and they show you where a mistake crept in.
- Measure the finished sides. If AB is 6 cm, then AC and BC should each be 6 cm, within a millimetre. If they are not, suspect the second arc rather than redrawing everything.
Practise, then build on it
Draw the same triangle at 4 cm, 7 cm and 10 cm. Larger triangles expose sloppy technique: an error of a degree or two is invisible on a small drawing and obvious on a big one. Working at different sizes also builds the habit of setting the radius deliberately rather than guessing at it.
Once a single triangle comes out clean, use the two-triangle version to step around a circle. Set the radius to AB, walk the compass point around the circumference marking equal steps, and the marks fall at 60° intervals — giving you a hexagon. Join alternate points for another equilateral triangle, or keep stepping to build a triangular grid, which is the basis of isometric drawing.
Finally, keep a couple of finished constructions instead of erasing them immediately. Comparing a careful attempt with a rushed one shows exactly where the error appeared: almost always a radius that shifted, or an arc that crossed at too shallow an angle. Fix those two habits and the construction becomes something you can produce quickly and trust, every time.
Photo: 422737 / Pixabay