


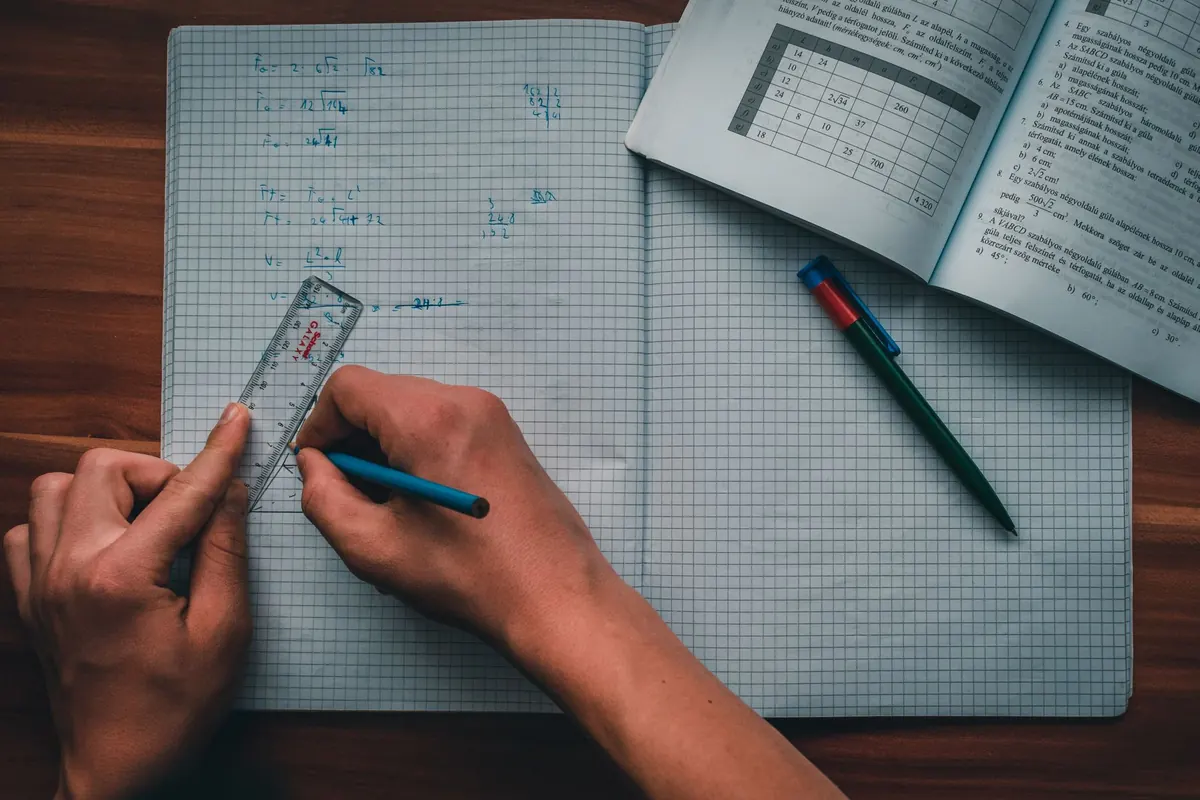

A protractor looks like the simplest thing in your pencil case. Then you line it up, read the number, and your answer is 176° out. It happens to nearly everyone at first, and the cause is almost always the same: two scales, two zeros, and one moment of hesitation about which number to trust. The good news is that accurate measurement is a habit rather than a talent. Get the routine right and the same few steps will serve you from Year 7 through to GCSE — and on into design technology, geography and any subject where a drawing has to be right the first time.
Set Up Before You Measure
Start by checking what you are working with. Most UK classrooms use a semicircular 180° protractor, usually transparent, with a small centre mark and two sets of numbers. Transparency helps: you can see the lines underneath. A few schools issue the full 360° circular version, which works in exactly the same way but measures reflex angles without any subtraction — useful, but never assume you will be given one.
Before you place anything, check three things:
- Your pencil is sharp. A blunt point adds a degree or two of error before you have even started, and a thick line makes it hard to see exactly where the arm crosses the scale.
- The paper sits on a hard, flat surface. Measuring on a soft exercise book lets the protractor rock, and a tilted protractor reads long.
- The arms of the angle reach the scale. If they are stubby, extend them lightly with a ruler, then rub the extension out afterwards.
If the printing around the zero marks has worn away, replace the protractor. You cannot measure what you cannot read, and a faded 0° is where nearly every bad reading begins.
Estimate the Angle First
This is the step students skip, and it saves the most marks. Before the protractor comes out of the case, look at the angle and decide roughly what it is. It takes five seconds, and it is the single best guard against reading the wrong scale.
Anchor your estimate on angles you already know:
- A right angle is 90°, the corner of a page.
- Half of that is 45°.
- An angle a little narrower than a right angle sits in the 70–85° range.
- One clearly wider than a right angle but short of a straight line is roughly 100–150°.
- Anything that folds back on itself is reflex, so it must be more than 180°.
Suppose the angle looks slightly narrower than a right angle. You should expect something near 80°. That guess is your alarm system: if you then read 100° off the protractor, you know something has gone wrong, most likely the scale. Say your estimate out loud or scribble it in the margin — a number you have written down is much harder to ignore than one you only thought about.
Align the Centre Mark on the Vertex
The vertex is the point where the two arms meet. The centre mark — sometimes a small hole, sometimes a cross or a notch — goes exactly on it. Not near it. On it.
The straight edge of the protractor, the baseline, then sits along one arm, with its zero at the vertex. Both parts matter. Plenty of students line up the centre perfectly and let the baseline drift, which throws the reading out by several degrees.
Hold the protractor flat with one hand while you read. One that slides halfway through a measurement produces a number that looks confident and is wrong.
Checking your alignment
Look down the baseline. The arm should sit directly under the edge, with no gap opening up at either end. If it peeks out on one side, lift the protractor and reposition. Then check the centre mark again — moving one end of the protractor almost always moves the other.
It also helps to mark the vertex with a small dot before you begin. A dot is easier to line up than the intersection of two faint pencil lines, and it gives you something to return to if the protractor shifts.
Reading the Inner and Outer Scales
Here is where most errors live. A standard protractor has two rows of numbers running in opposite directions. Both start at 0°, but from opposite ends of the baseline.
The rule is short: use the scale whose zero sits on the arm you aligned. If the inside row's zero rests on your baseline, read the inside row. Then follow that row round — counting up in tens, 0, 10, 20, 30 — until you reach the point where the second arm crosses the scale. That crossing point is your measurement.
Take an angle that opens gently to the right. You align the baseline and find that the outer row's 0° sits exactly on the arm you used. Follow that same outer row round until the second arm cuts across it, and suppose it lands on 65. Your answer is 65°.
Now look at the row underneath. At that very same spot on the plastic, the inner row reads 115. Both numbers are printed at the same point, and both look perfectly plausible if you have not estimated first. This is the trap. The only defence is the rule above, plus the estimate you already made: an angle slightly narrower than a right angle cannot be 115°.
Measuring Reflex Angles
Reflex angles are greater than 180°, so a semicircular protractor cannot read them directly. Measure the angle on the other side instead, then subtract.
- Measure the smaller angle between the two arms — the one that fits comfortably under the protractor.
- Subtract that value from 360°.
If the smaller angle measures 130°, the reflex angle is 360 − 130 = 230°. Check your answer against the definition: a reflex angle must fall between 180° and 360°. If you end up with 140°, you have measured the wrong angle and simply need to subtract from 360 again.
Five Errors That Cost Marks
- The protractor slips mid-read. Hold it down, and re-check the alignment before you write anything.
- Using the wrong scale. Always trace back to the zero that touches your baseline.
- Reading the number at the wrong end of the arm. You want where the second arm crosses the scale, not where the first one does.
- Measuring the wrong angle. In a diagram, the angle you need might be the reflex one, or the one marked with an arc. Read the question, not just the picture.
- Guessing between marks. If the arm lands between two degree lines, say so and give the nearest degree, or state that it is between two values. Honest precision beats false confidence.
Markers do not penalise a sensible estimate. They do penalise a measurement that contradicts the diagram — and those are almost always caused by the second scale.
Build Accuracy with Short, Checked Practice
Accuracy improves fastest when you practise with feedback rather than volume. Three short sessions beat one long one, because your hand learns the routine more quickly than your memory does.
- Draw ten angles freehand with a ruler, estimate each one, then measure and compare. Track how far off you are — most students get within 10° after a week.
- Re-measure angles from a textbook diagram where the answer is printed. If your reading disagrees, work out whether it was the scale, the alignment or the estimate that let you down.
- Measure from both ends of the baseline as a check. If the two readings add up to 180°, your alignment was sound.
None of this is complicated. It is just a sequence: check your kit, estimate, align the centre and baseline, choose the scale that starts at your zero, and read where the second arm crosses. Do it in the same order every time and the two zeros stop being a trap and start being what they actually are — one reliable number and one you simply ignore.
Photo: congerdesign / Pixabay